Introduction: Starting Your Journey with ESP32
Imagine this: You’ve just come home from a busy day, and as you approach your front door, it recognizes you and opens automatically. Inside, the lights adjust to a comfortable brightness, and your favorite playlist starts playing softly in the background. While it may sound like science fiction, technology like this is entirely within reach—and with the ESP32, you can actually build it yourself.
To make these ideas a reality, though, you’ll need a toolkit that taps into all the technical powers of your ESP32. That’s where ESP32-IDF (Espressif’s official Software Development Kit) comes in. Unlike basic frameworks, ESP32-IDF gives you full access to the chip’s capabilities—allowing you to create devices that aren’t just functional but feel personal, innovative, and ready for real-world use.
Why ESP32-IDF Matters
ESP32-IDF isn’t just a programming toolkit; it’s a bridge between your ideas and fully functional devices. With it, you’ll unlock everything ESP32 can do, from complex sensor control to real-time data processing. This is the same SDK used by engineers worldwide to develop robust, industrial-grade products.
By the end of this course, you’ll be equipped to create things you may have only dreamed of—smart home projects, automated gadgets, or even your own customized devices. And it all starts with setting up your development environment. Let’s dive in!
Step 1:
First, download and install the latest version of Visual Studio Code from the official website – it’s free and works on all major platforms!
Step 2:
Once Visual Studio Code is installed, add the ESP-IDF extension. Go to the sidebar, select Extensions (or press Ctrl + Shift + X), then search for ESP-IDF. Install the latest version to get started with ESP32 development.

Step 3:
In Visual Studio Code, open the View menu, select Command Palette, and type Configure ESP-IDF Extension. Then, choose the ESP-IDF: Configure ESP-IDF Extension option from the list to proceed with the configuration.

Step 4:
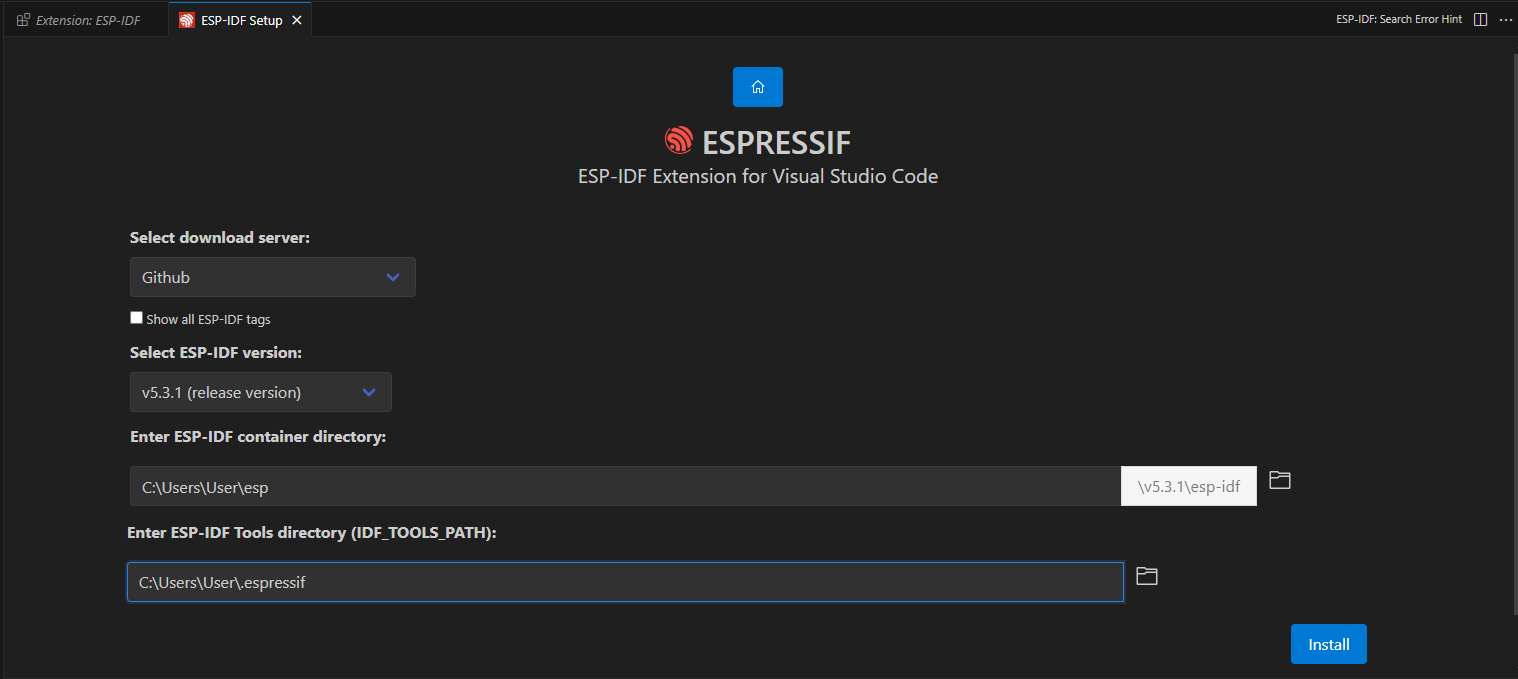
In the new window, select the latest release version and specify the directory where you want to install ESP-IDF. Click Install.
If you encounter any errors during this step, there’s an alternative way to install the ESP-IDF SDK: you can use the official installer. This is described at the end of the article.
Step 5:
Congratulations, after a slow installation and download, it’s finally done!
Time for something truly exciting—let’s start flashing!
Let’s see if we can really do this! Flashing your first example with the ESP-IDF SDK is a big milestone. It may seem challenging, but every step you take brings you closer to mastering embedded development. Stay focused, keep learning, and soon you’ll be building incredible projects. You’ve got this!
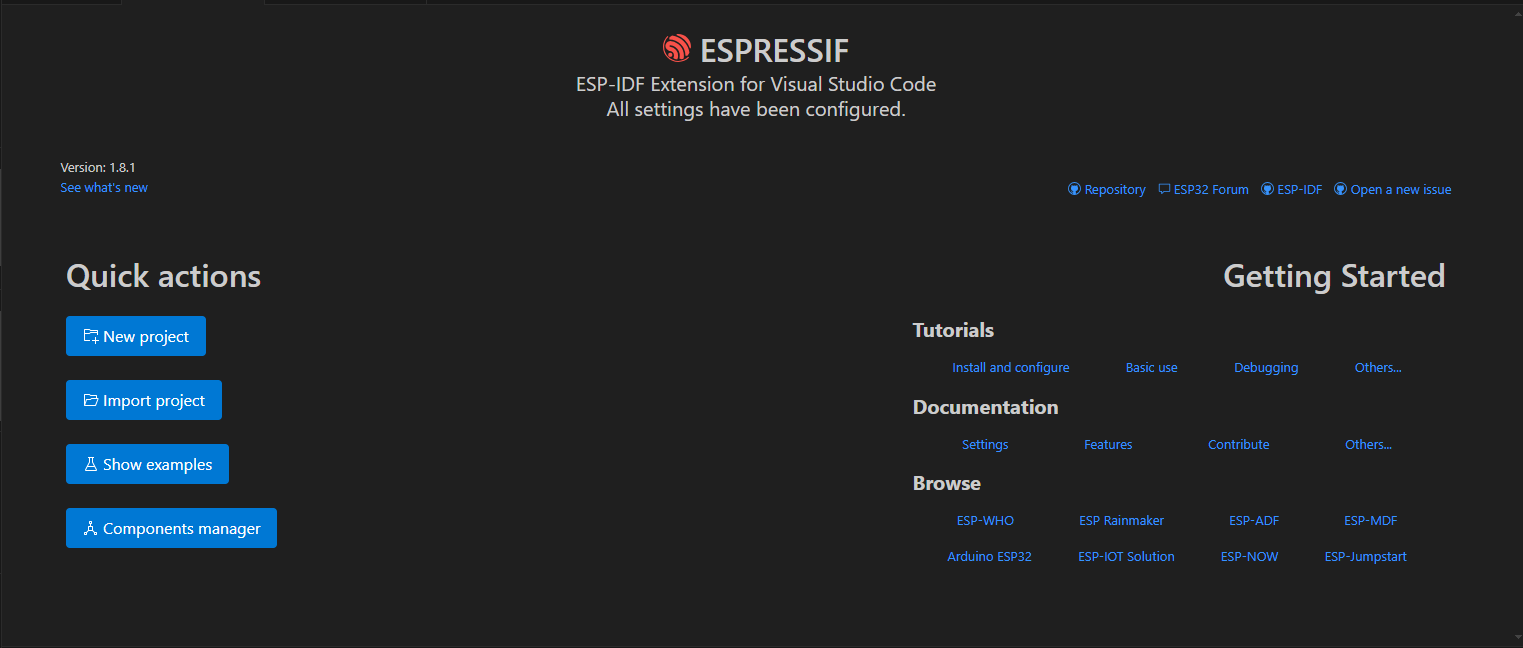
Click ‘Show Examples‘ on the screen from the last step. Then, in the pop-up at the top of the screen, select ‘Use Current ESP-IDF…‘ to proceed.

Since this tutorial focuses solely on the SDK, let’s start with the simplest example to check if everything works. We won’t modify the code in this lesson; that will be covered in the next lesson.
Click blink under get-started.

And Create project using example blink.
You will get something like this in left bar or Explorer:

Open the main folder and look inside the blink_example_main.c file. Don’t worry about the amount of code—it’s just an example with a lot of extra parts.
Great! We have some code in the project. Let’s try compiling it and flashing the device.
Alternative Installation Method Using the Official Installer
Go to the official ESP-IDF website or download page and choose the online installer. This installer will guide you through the entire setup process, installing all the necessary dependencies to get your ESP-IDF environment up and running smoothly.
After downloading the installer, just follow the prompts—clicking “Next” through each step—and select the latest release version when prompted. This will ensure you’re using the most current features and improvements in the ESP-IDF. Once completed, you’ll have all the necessary tools and libraries installed for your development environment.

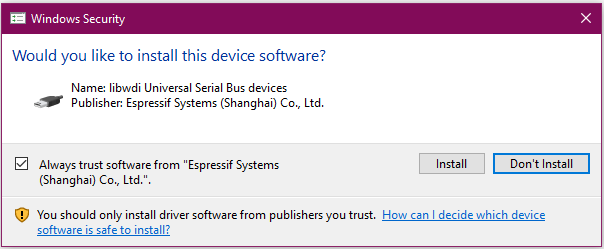
Also, allow installing all necessary drivers.